
And here's the tutorial that has had you all chomping at the bit, lol!
Bias binding has always intimidated me, so I only use it when working with curves. There are some fantastic tutorials out there, like this one and this one. But if those don't fit your needs, here's this lazy girl's mind-blowingly fancy technique!
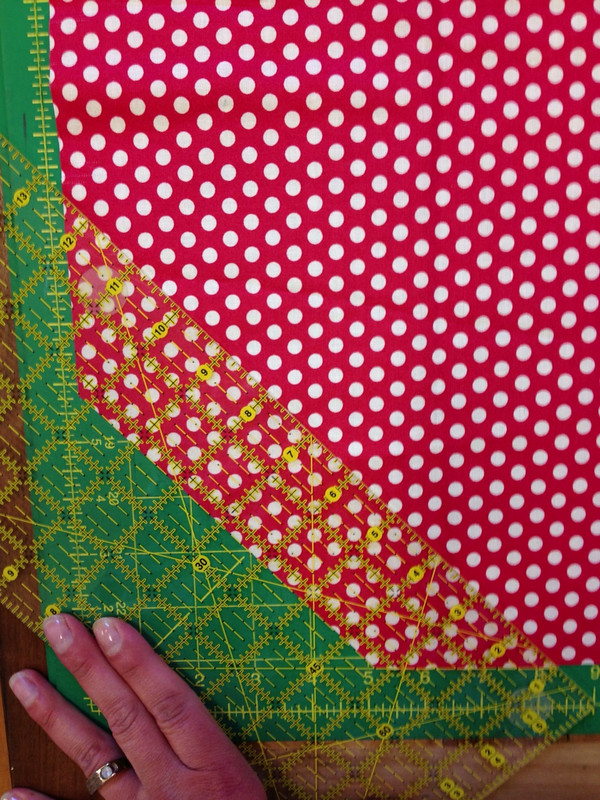
First, lay your carefully chosen fabric out on your cutting mat. Trim off the selvedge on the side facing you, and square up the left side of your fabric.

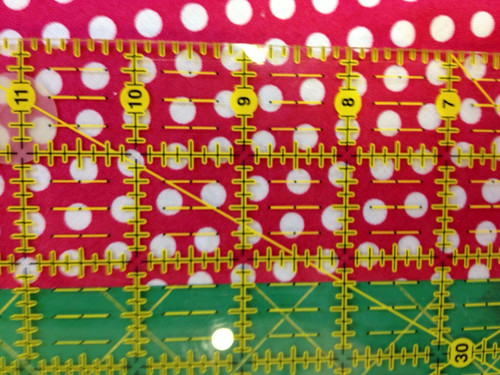
Second, line up the 45 degree line on your ruler with the left edge of your fabric.

Make your first cut. I usually cut my strips to 2 1/4", which works well for most quilts either machine or hand bound, as well as the visible binding on my Tinker Tote. For the hidden binding on my Tinker Tote, I cut my strips to 1 1/4". Continue moving your ruler, lining up your fabric edge with the correct marks on your ruler.
The first few will be short, so you decide if you want to relegate those to the scrap pile, or piece them all together. It really depends on the size fabric you began with and how many inches of binding you need! Cut strips until you have enough to bind your project.
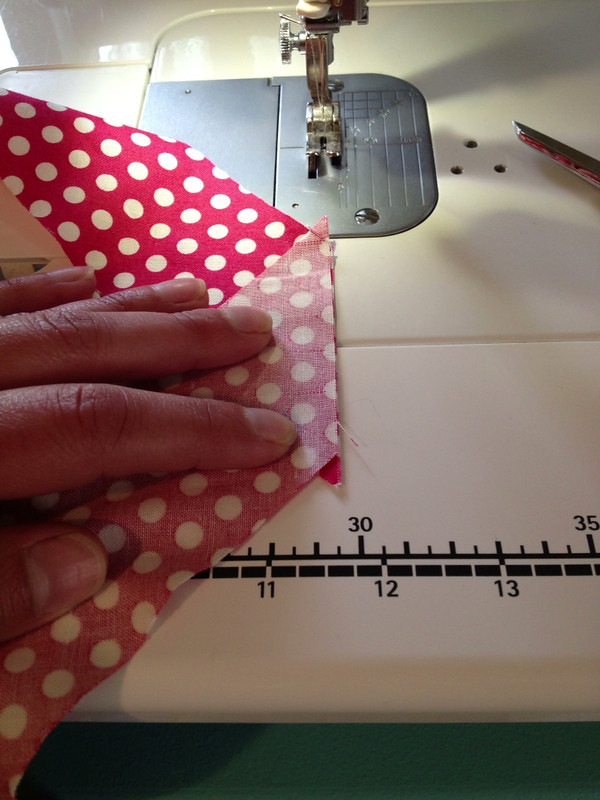
Overlap your ends and stitch together.
Fold your binding in half and press well. You are now ready to attach your binding!

xo, tara